1987 928S4 Central Electric Panel Refresh Procedure
This is a very simple, but time-consuming, job.
First, unscrew two thumb screws on the the tool tray in the back hatch.
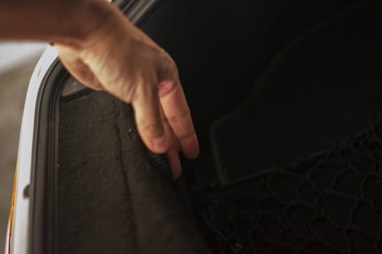
Next, remove the wing nut that connects the battery ground-strap to the chassis.
The ’87 has a cargo net. I use it to hold the ground strap away from anything that could ground the electrical system.
Next, there are two (one on each side) 8mm nuts that hold the parcel tray in the passenger footwell. Remove both.
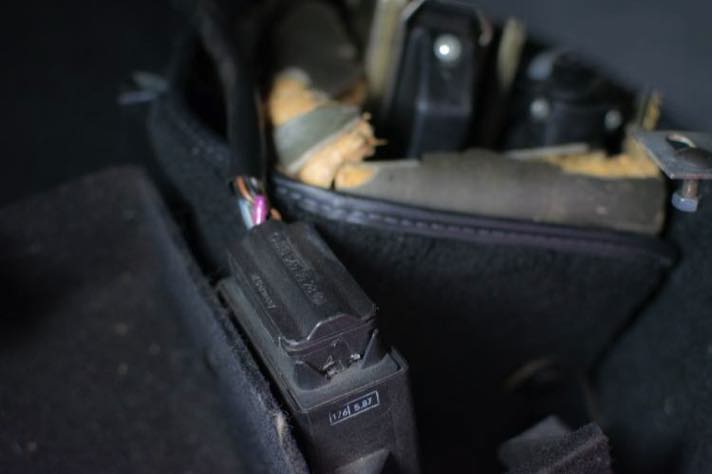
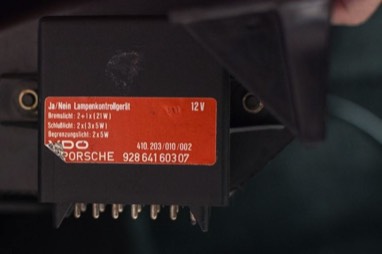
The bulb control module is attached to the package tray.
Better to disconnect it, to have more room. I used a flathead screwdriver and gently pried the female end of the connector from the male end of the module.
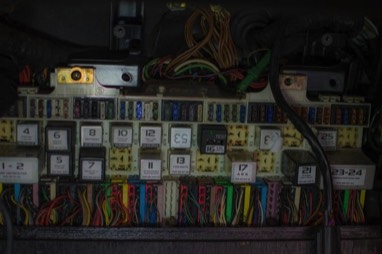
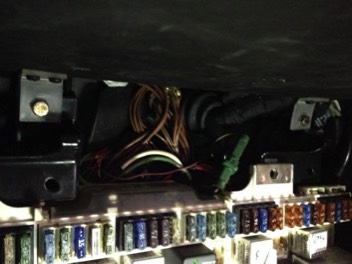
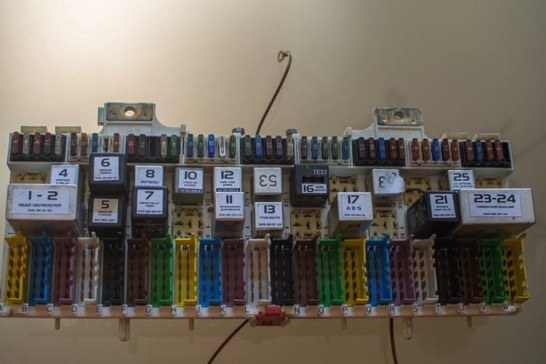
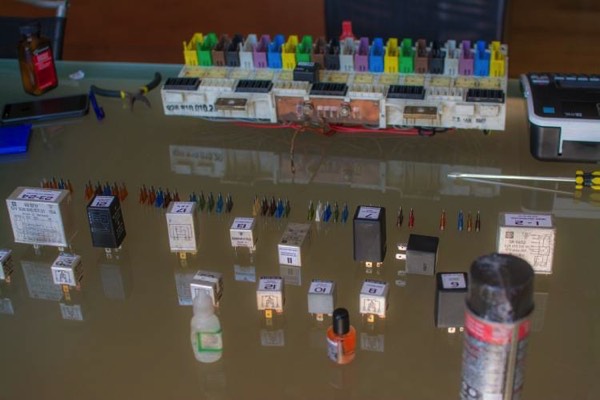
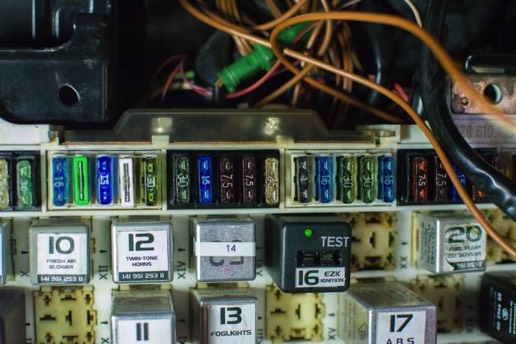
This is the Central Electric (CE) Panel.
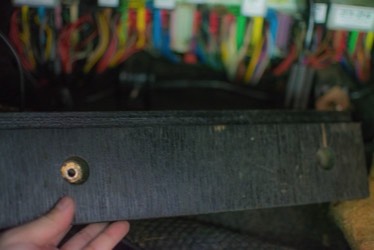
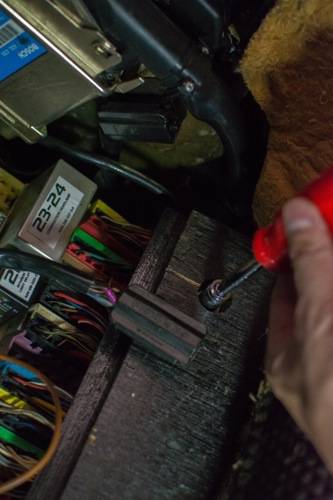
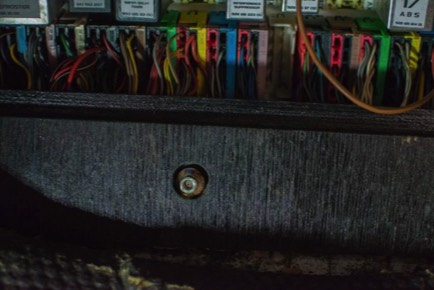
This is the lower wooden cover for the CE panel.
It has two 10mm nuts. Put them in a safe place, along with the washers, and remove.
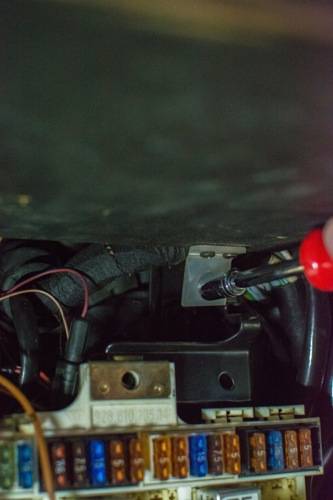
The upper wooden cover for the CE panel swivels. There are two 10 mm bolts (one on the left, one on the right) that need to be removed.
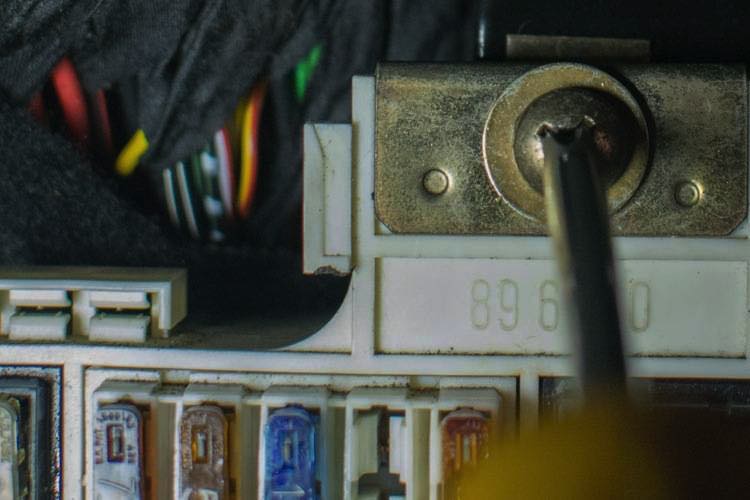
The top of the CE panel has two Phillips head screws that hold it in place. (Mine was missing one.) Remove the two screws.
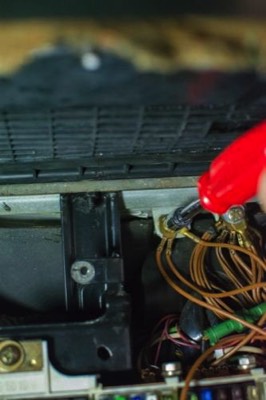
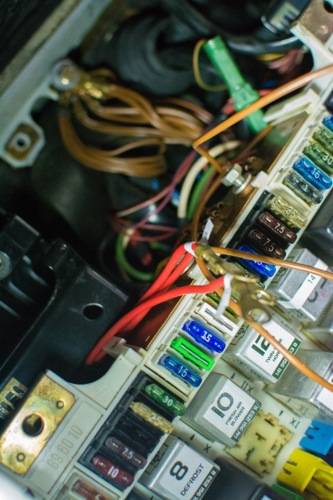
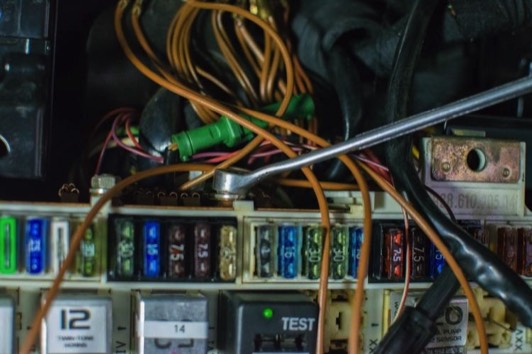
The power to the CE panel is at the top. Remove the translucent plastic cover that protects the positive terminals by pinching them at the sides of the plastic.
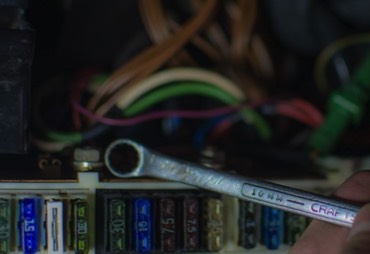
Using a 10mm wrench, unscrew both power wires (in red insulation.)
After freeing the power wires, I put the 10mm nuts back onto the top of the CE panel, so as not to lose them.
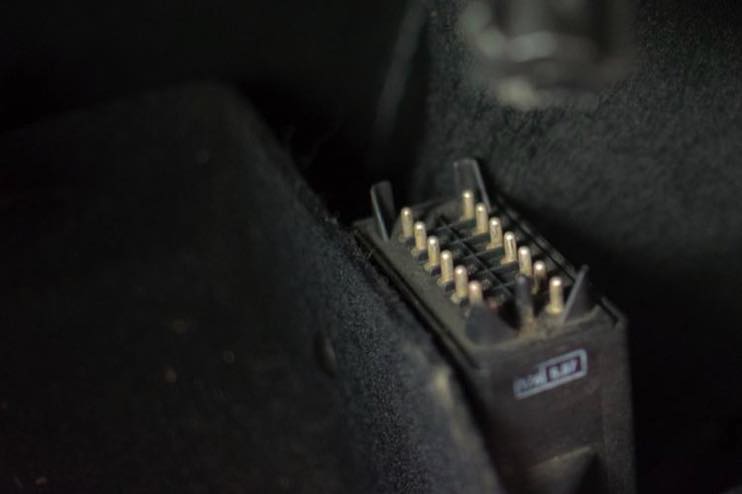
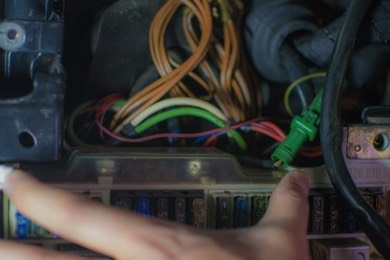
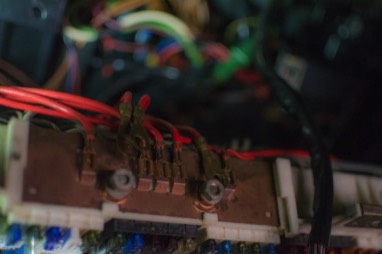
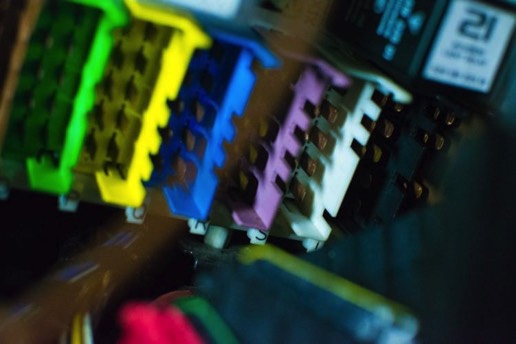
At the bottom of the CE panel, there is a red tab that is pushed down and pulled out. This frees the colored connectors from the CE panel.
Gently lift the tab on each connector, then gently pull the connector out. Repeat.
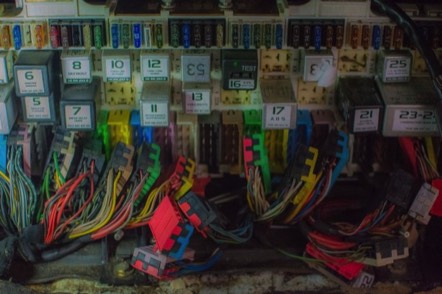
When you are done, the CE panel looks even more chaotic than before.
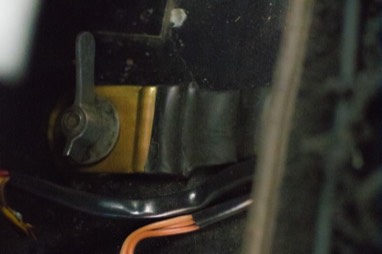
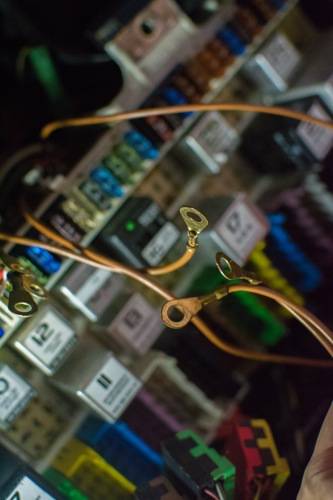
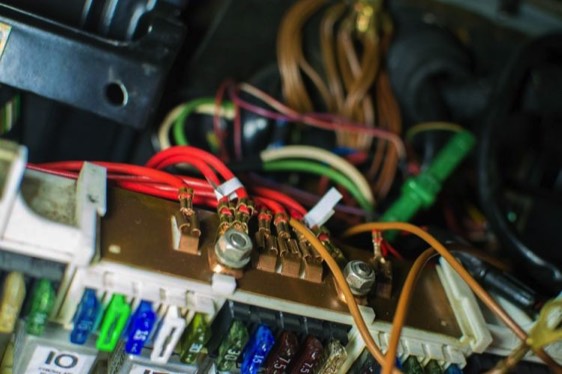
Disconnect the ground wires from the left ground point, above the CE panel. 10mm socket.
Now you are ready to remove the CE panel from the passenger footwell. I put the CE panel on the kitchen table.
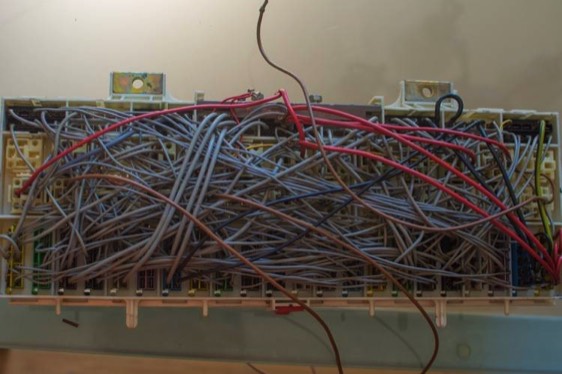
The back of the CE panel looks like grey spaghetti.
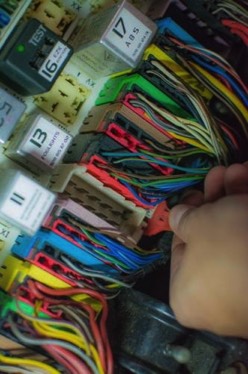
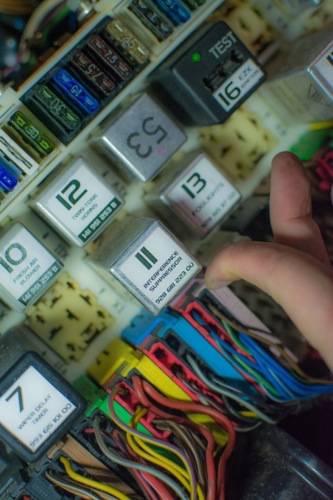
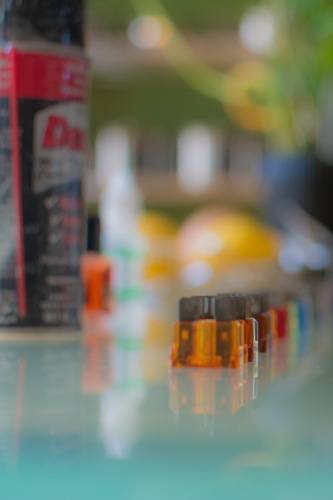
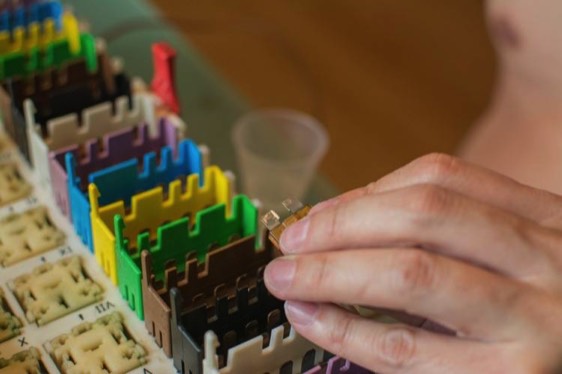
I removed all of the fuses.
Then, I removed all of the relays.
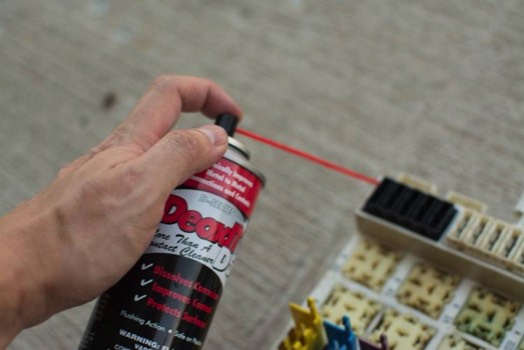
Taking the CE panel outside, I sprayed a short burst of DeoxIT onto every electrical connection in the CE panel. I waited 10 minutes, and then did it again.
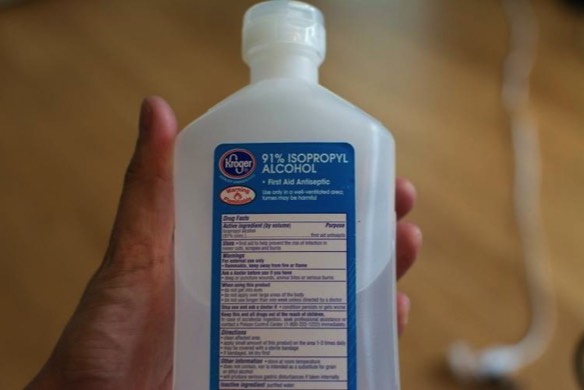
Next, I diluted one part Stabilant-22
…with four parts Isopropyl Alcohol…
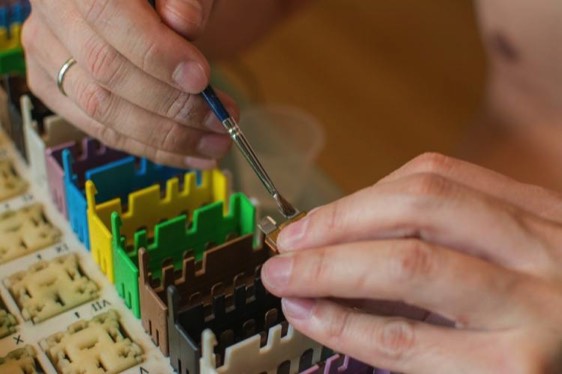
And after gently cleaning each surface of every fuse and relay terminal with a dremel wire brush, painted the diluted Stabilant-22 onto each terminal.
I also painted each terminal on the CE panel with the diluted Stabilant-22.
Then, I put each fuse and relay back into the CE panel.
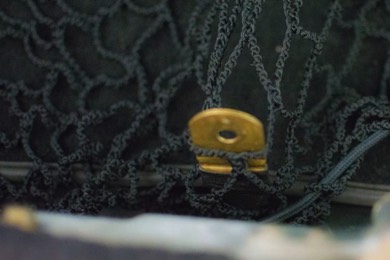
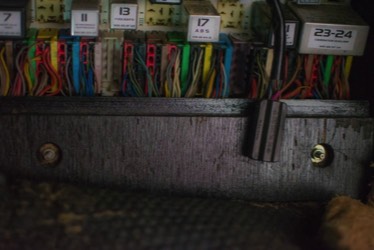
Now, time to return the CE panel to the passenger footwell. There are two plastic nubs at the bottom of the CE panel (the one pictured below is between “R” and “S.” The nub should sit in an appropriately-sized indentation in which it fits. Make sure it is seated properly.
The power wires need to be draped over the CE panel before screwing it back in place.
The ground wires do, as well.
Secure the power wires onto the top of the CE panel. 10mm.
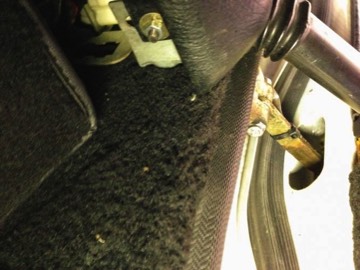
(Also, secure the ground wires to the left ground point- MP V)
Secure the CE panel to the floor with a Phillips screwdriver.
Restore the translucent positive terminal cover.
The lower wooden cover goes on, with washers. Two 10mm nuts.
The upper wooden cover (the one that swivels) goes back on- two 10 mm bolts.
Almost done.
Restore the package tray, secure the two 8mm nuts.
Reattach the bulb control module.
Reattach the ground strap to the chassis via the wing nut at the back of the trunk, restore the tool tray, and you are good to go.